
Redaction stamps in GoldFynch allow you to identify why a reviewer has redacted a portion of the file. The reviewer can attach a small label, aka a stamp, with text like "PII", "Attorney Work Product", "Privileged", etc, to explain why that content was redacted. The redaction stamp will also be printed inside the black box during the final production.
Key concepts related to redaction stamps
Let's look at some key terminology related to redaction stamps in GoldFynch.
- Managed stamps: A reusable stamp that has been created ahead of time for the whole case. These stamps can be created in the Case Settings view. When creating the stamp, you can give it a name and an abbreviation (that can be used when the full name won't fit inside the redaction box).
- One-off stamps: A stamp the reviewer creates on the fly while redaction, just for that particular redaction. These stamps are not added to the case's managed redaction stamp list and do not have abbreviations. One-off/on-the-fly redaction stamps, once created, will be available for the user who created them to use for any document within that case.
- Applying a stamp: A reviewer can attach one or more stamps to a single redaction box by picking from the list or adding a one-off stamp.
- Final vs. Preview: When producing documents in "Final" mode, the redaction stamp text will be written into the solid boxes over the redactions. When producing documents in "Preview" mode, the redaction stamp will not be written over the see-through boxes, as the preview mode is meant for a quick look.
Learn how to add, update, and delete redaction stamps here
Creating redaction stamps
Step 1. Navigate to the 'Case Settings' view by clicking on the icon in the left navigation panel
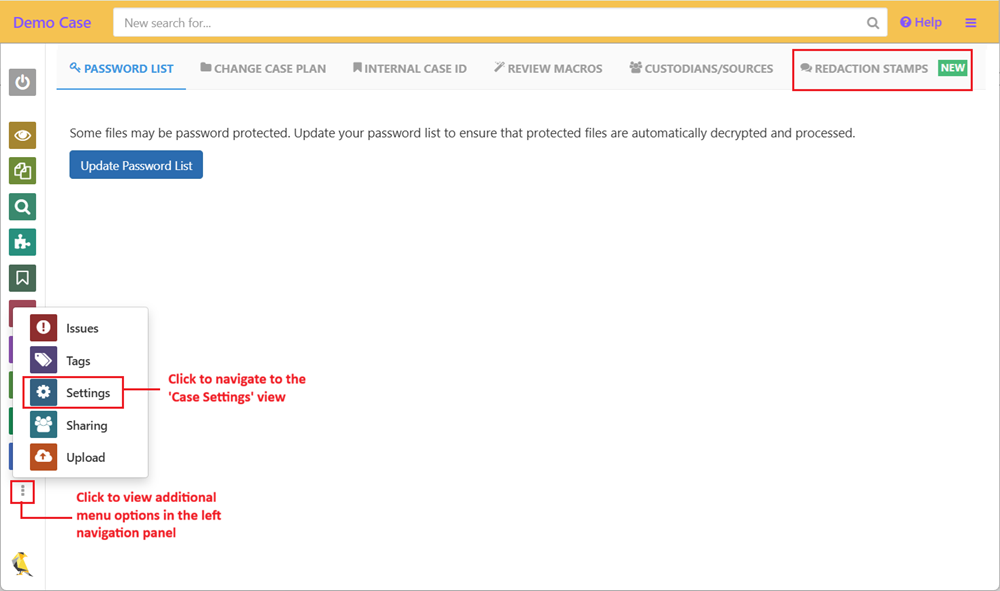
Step 2. Navigate to the 'Redaction Stamps' tab
Step 3. Click on '+New Redaction Stamp'
 Step 4. Enter a name for the Redaction Stamp
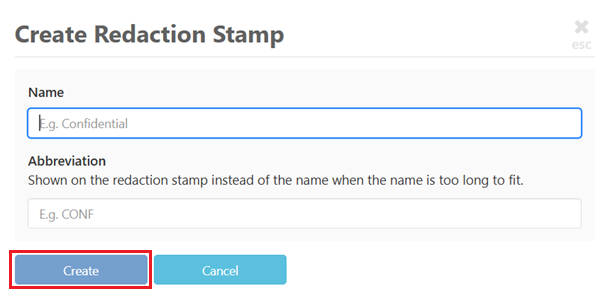
Step 5. Enter an abbreviation
Step 6. Click on 'Create'
The newly created redaction stamp will be added to the managed list of stamps for the case.
Editing redaction stamps
Step 1. Navigate to the 'Redaction Stamps' tab of the 'Case Settings' view in your case
Step 2. Click on the edit icon (pencil) against the redaction stamp you want to edit

Step 3. Update the name or abbreviation, or both
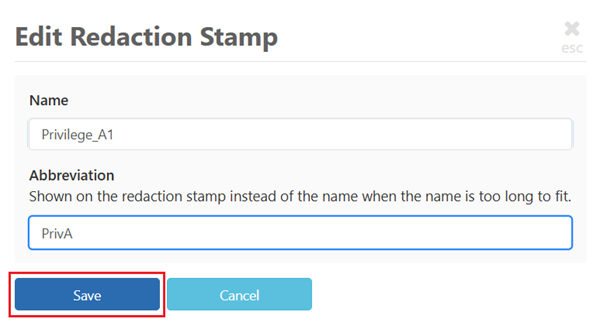 Step 4. Click on Save
Note: When you edit a redaction stamp, the updated name/abbreviation will be visible in the document viewer and in any new production. Previously produced documents will show the old name/abbreviation for the redaction stamp.
Deleting redaction stamps
You can delete individual redaction stamps or multiple redaction stamps at one go from the Redaction Stamps tab.
To delete multiple redaction stamps at one go -
Step 1. Select the redaction stamps you want to delete by checking the checkbox against them (Note: To delete all redaction stamps in the case, check the checkbox found in the header of the listing). 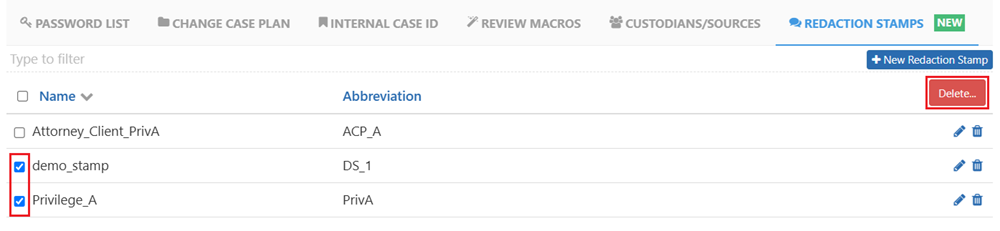 Step 2. Click on 'Delete' in the confirmation pop-up to confirm the delete
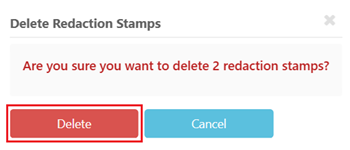
To delete an individual redaction stamp:
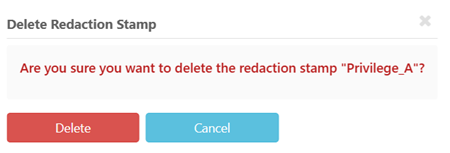
Step 1. Click on the trashcan icon against it
 Step 2. Confirm by clicking the 'Delete' button in the pop-up box
Learn more about redactions and redaction stamps here:
Adding, updating and deleting redaction stamps
Production settings: Redaction box fill options and redaction modes