Learn how to set custodians and sources for your files on GoldFynch, as well as attach notes to them for reference.
Creating Custodians and Sources
You can create custodians and sources either independently (in the ‘Manage Custodians/Sources’ tab of the ‘Settings’ view) or at the time of uploading files.
Creating Custodians and Sources independently
Step 1. Click on the ‘Settings’ view icon in the left panel
Step 2. Click on the 'Manage Custodians/Sources' tab

Step 3. Click on the '+New Custodian' button to create a new custodian or click on the '+New Source' to create a new source

Step 4. Enter a name for your custodian or source, and add notes into the textbox provided if you wish to

Step 5. Click on the 'Create' button
Creating Custodians and Sources while uploading files
While uploading files you can choose to create new custodians and sources or use existing ones
Step 1. Click on the ‘Files’ view button in the left panel
Step 2. Upload your files by either drag-and-dropping them or selecting files with the 'Upload Files' button (learn more about uploading files here.)
You will be shown an overlay with drop-down lists of existing custodians and sources.

Step 4. Click on either the ‘Custodian’ or ‘Source’ drop-down lists. You can:
- choose an existing custodian/source to assign it to all files being uploaded
- type a name into the box and click on the ‘Create Custodian/Source’ option to create a new custodian or source and assign it to all files being uploaded
Step 5. Click on the 'Begin Upload' button. Once the files upload and are processed, they will be labeled with the custodians and sources you assigned
Managing Custodians and Sources
In the 'Manage Custodians/Sources' tab (accessed from the ‘Settings’ view,) apart from creating new custodians and sources, you can:
- Check how many files each source and custodian has been applied to
- Edit the name and notes for a custodian or source by clicking on the '
edit'button (the pencil) - Click on the '
delete'button (the trashcan) to delete a custodian or source permanently (and remove the label from all files it is currently assigned to) - Re-apply custodians/sources to existing files

Note: Adding notes to your custodians and sources is a handy way of keeping track of additional information about your imported data without needing to reference an external log, or clutter your case with long and complex file and tag names
Applying Custodians and Sources to files in your case (i.e. already-uploaded files)
Custodian and sources are normally applied to files at the time of upload but GoldFynch lets you add them at any time. To do so:
1. Click on the Re-apply custodians/sources.. button at the top of the Manage Custodian/Source tab of the Settings view

2. Select the files you want to apply the custodian/source to. The available options are by tag, by saved search, and to all files in your case (everything)

3. (If you selected the tag or saved search option) Select the tag name/saved search to be used from the dropdown

4. Select how you would like to apply the custodian/source.

The available options are -
- Apply - This option will apply the new custodian/source while retaining the old custodian/source
- Replace - This option will replace a particular custodian/source with a new custodian/source. You will need to select the custodian/source you want to replace and what you want it to be changed to
- Remove - This option will let you remove older custodians/sources
5. Select the Custodian or Source to be applied
6. Click on Apply
Note: In case you choose the Replace option to re-apply the custodian/ source you will need to choose the custodian/source you want to replace along with the value it is to be replaced with. In the image below the dropdown on the left contains the list of custodians/sources that can be replaced based on the file selection. The dropdown on the right will be populated based on the value that needs to be replaced. For example, in case you want to replace a particular source then all the other available sources in the case will be populated in the dropdown on the right.

Uses of Custodians and Source
The custodians and sources you assign to files serve many purposes:
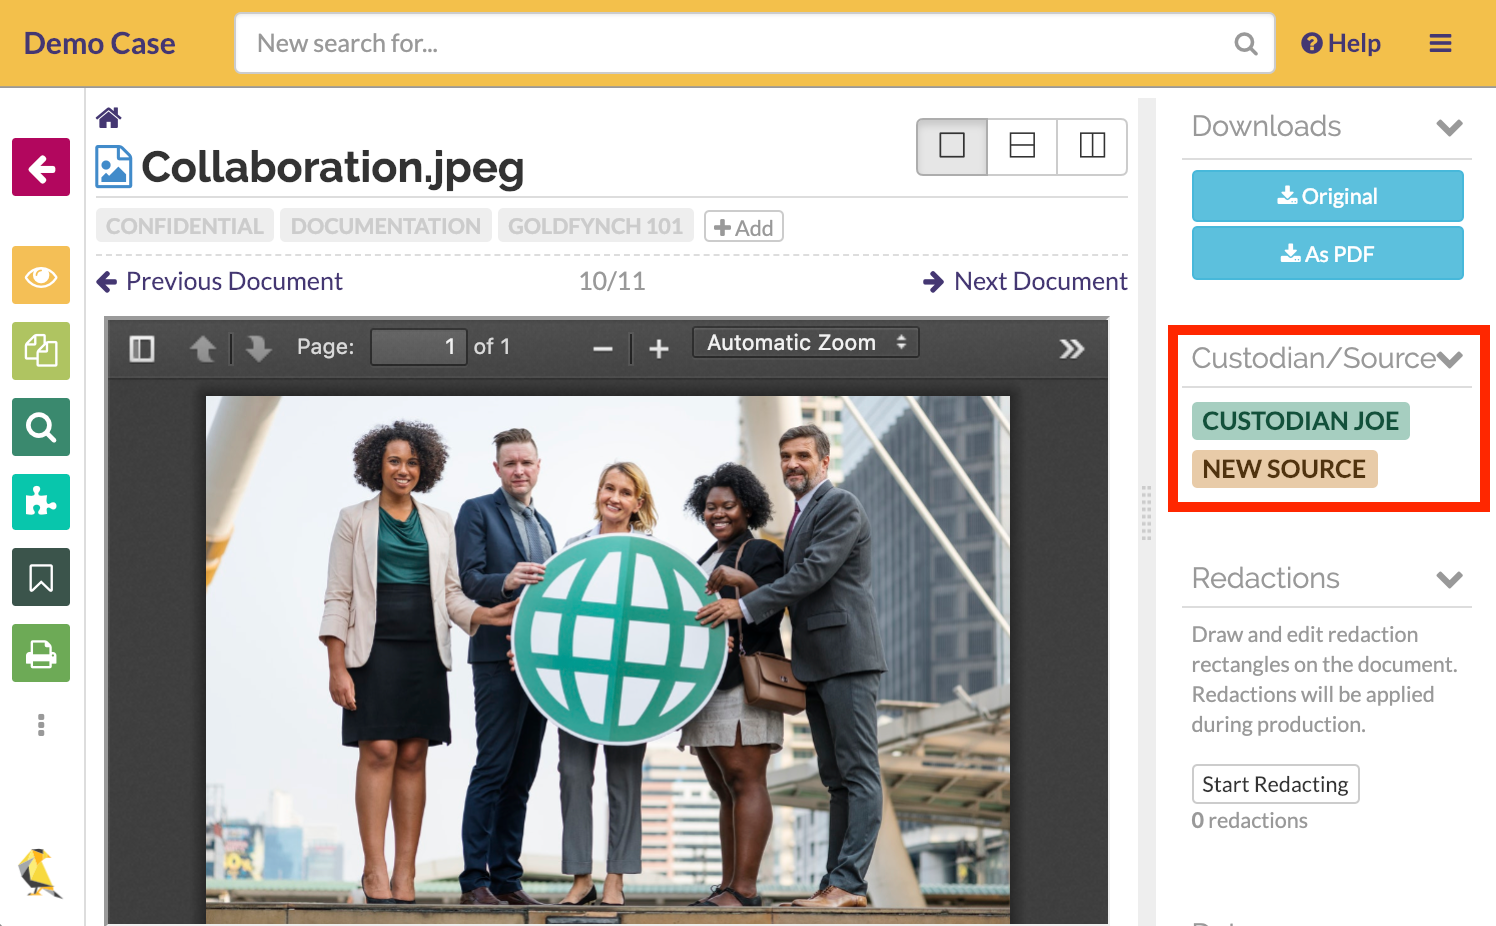
1) You can easily track where a document is sourced from or who the custodian is from the information panel on the right side of your screen in the ‘Docs’ view:
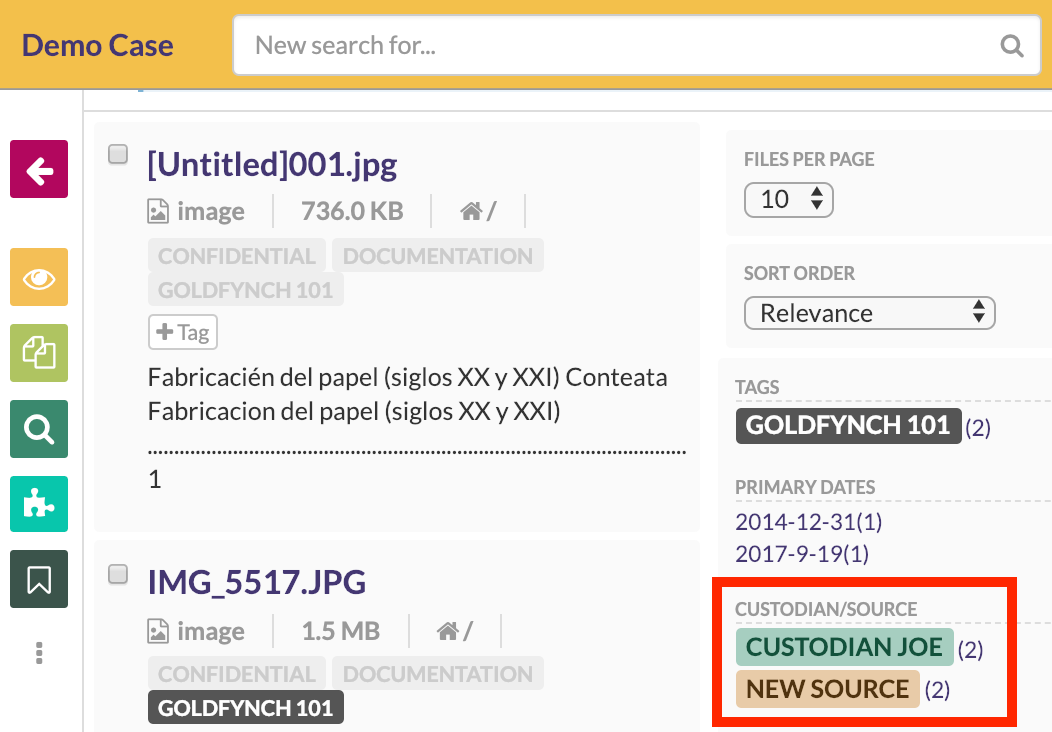
2) In the ‘Search’ view, you can filter search results by individual sources and custodians:
4) When generating case reports the ‘Custodian’ and ‘Source’ parameters are included as fields
5) While setting up load file control parameters profiles you can include the ‘Custodian’ and ‘Source’ parameters, which can be applied to load files that are generated